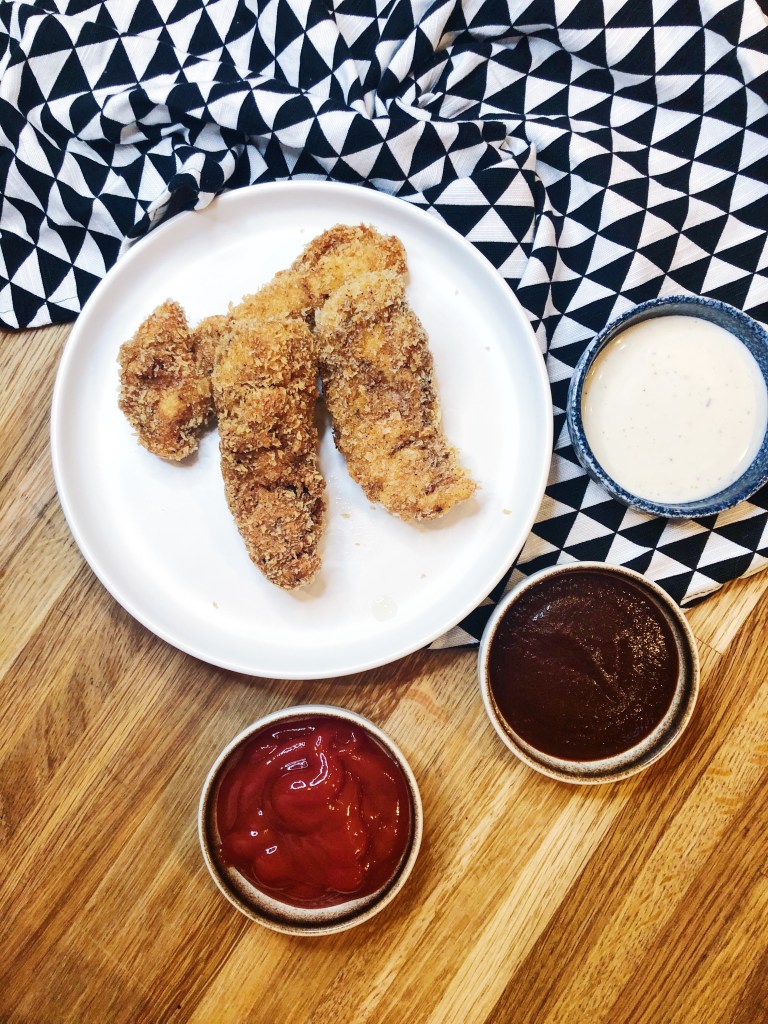
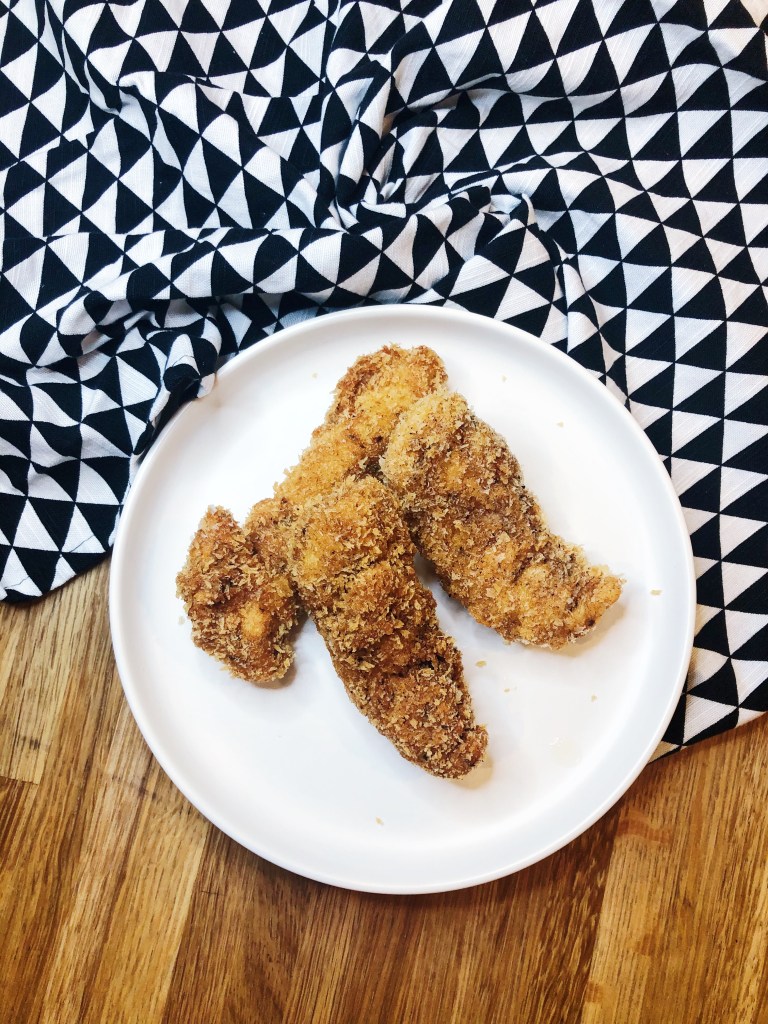
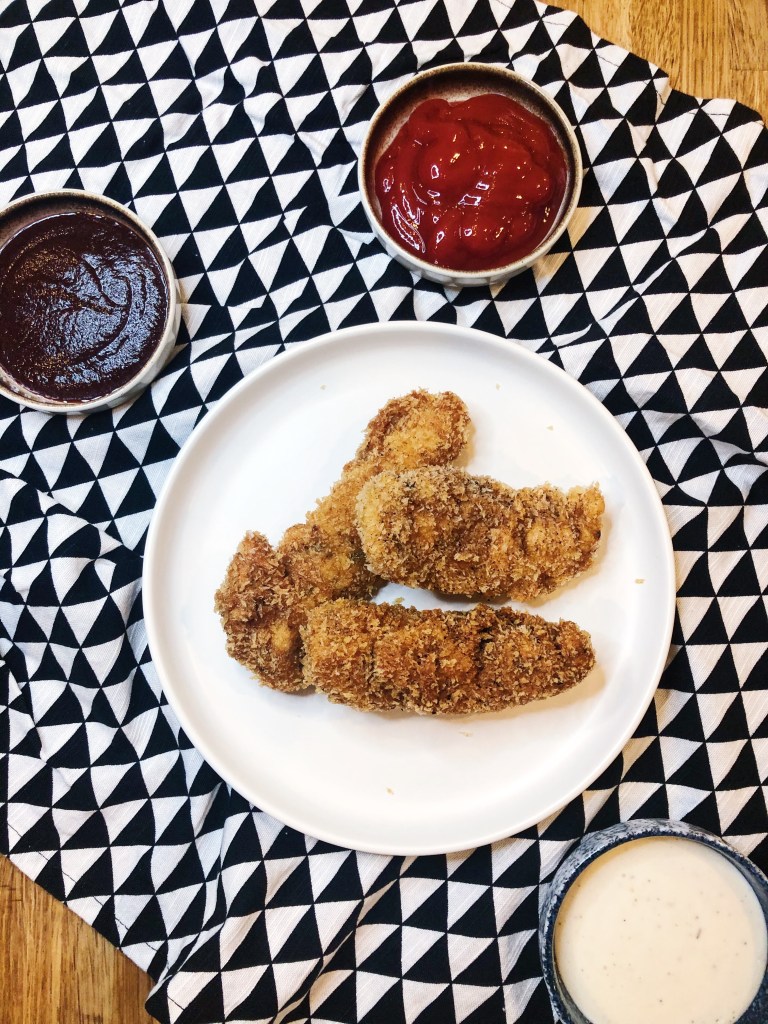
Let’s be real, you are never to old to enjoy chicken tenders! They remind us of simpler times with no responsibilities. I love a good tender, especially dunked in the right sauce. These tenders will have you rethinking why you dig out the slightly freezer burned ones. These are way better and don’t take much more time than heating up some pre-frozen ones. So ditch the freezer burn and fry up a batch for a weekend lunch or dinner. These are great for the entire household with their favorite dipping sauces. Fair warning, these were so delicious, you might be fighting over the last one!
- 1lb Raw Chicken Breast Tenders
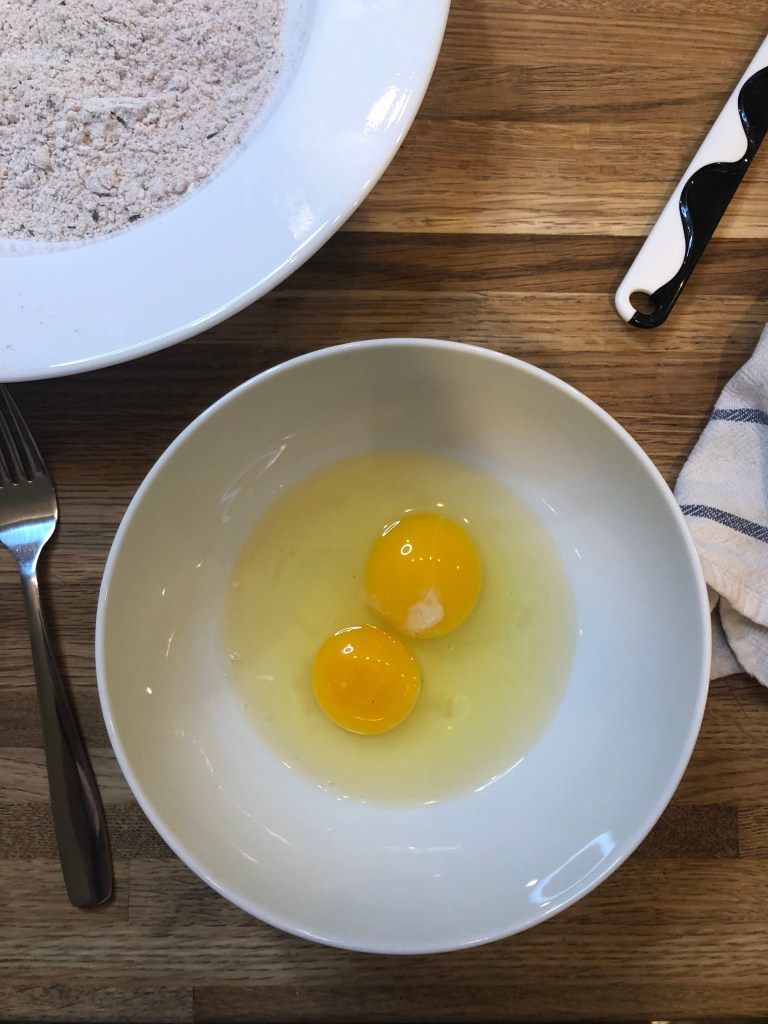
- 2 Eggs
- 1/3 Cup Milk
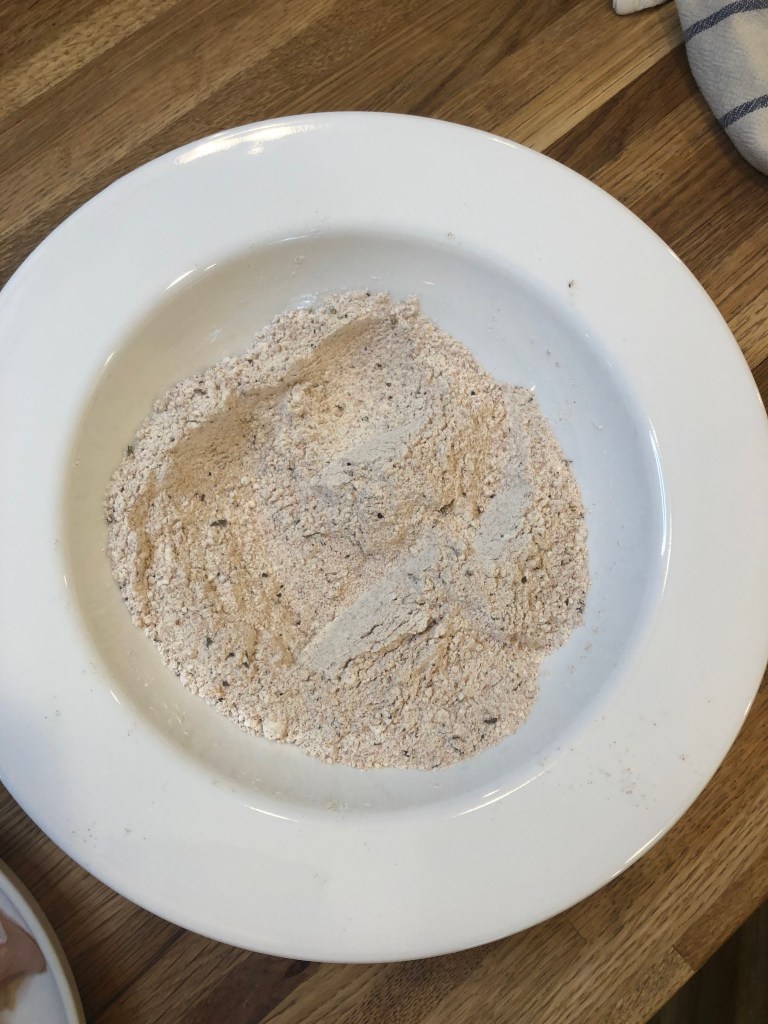
- 2/3 Cup Flour
- 1 1/2 Cups Panko Breadcrumbs
- 1 Tbsp Garlic Powder
- 1/2 Tbsp Onion Powder
- 1 Tsp Salt
- 1 Tsp Pepper
- 1 Tbsp Paprika
- 1 Tsp Basil
- 1 Tsp Oregano
- 1/2 Tsp Chili Powder
- Oil for Frying
- Serves: 2-3
- Prep Time: 15 Minutes
- Cook Time: 25 Minutes
- Total Time: 40 Minutes

To Make:
- Pat dry the chicken – you want to remove as much moisture as possible.
- Next, grab 3 separate bowls – you will need 1 for the flour, 1 for the eggs, and 1 for the breadcrumbs. You want to make sure the bowls are large enough to dunk the chicken in to fully submerge and coat it.
- In the first bowl, whisk together the eggs and milk. Set aside.
- In the second bowl, add the breadcrumbs and set aside.
- In the third bowl, add the flour, garlic powder, onion powder, salt, pepper, paprika, basil, oregano, and chili powder. Mix together so the seasonings are well combined throughout. Set aside.
- Before we bread the tenders, lets heat the oil! In a medium sauce pan, add in the oil and heat to 350 degrees Fahrenheit – this will take about 10-15 minutes for the oil to heat to the right temperature. You want to make sure there is enough oil to completely submerge the chicken in – this will depend on how large your sauce pan is!
- While the oil is heating up, lets coat the chicken! This will be a 5 step dip to get it extra crispy!
- First Coat – dip one piece of chicken in to the flour-seasoning mixture. Make sure it is well coated.
- Second Coat – dip the chicken in to the egg mixture to fully cover. You want to dunk fairly quickly and then shake off any excess egg.
- Third Coat – Once the chicken is coated in the egg, dip it back in the flour-seasoning mixture. Make sure it is well coated and shake off any excess.
- Fourth Coat – Dip back in to the egg mixture. Make sure it is well coated, and again shake off any excess egg.
- Fifth Coat (and final coat) – dip the chicken in the panic brad crumbs. Coat well and shake off any excess – set on a clean plate.
- Repeat steps 8-12 until all the chicken pieces have been covered.
- Once the oil is heated – carefully drop the chicken pieces in to the oil. Depending on how large your pot is, place about 2-3 pieces of chicken in the oil at a time. You do not want to over crowd, or they will not fry evenly. Fry for 5-8 minutes, or until the internal temperature of the chicken reaches 165 degrees Fahrenheit so it is no longer raw.
- Remove the chicken tenders from the oil and place on to a paper towel to soak up the excess oil.
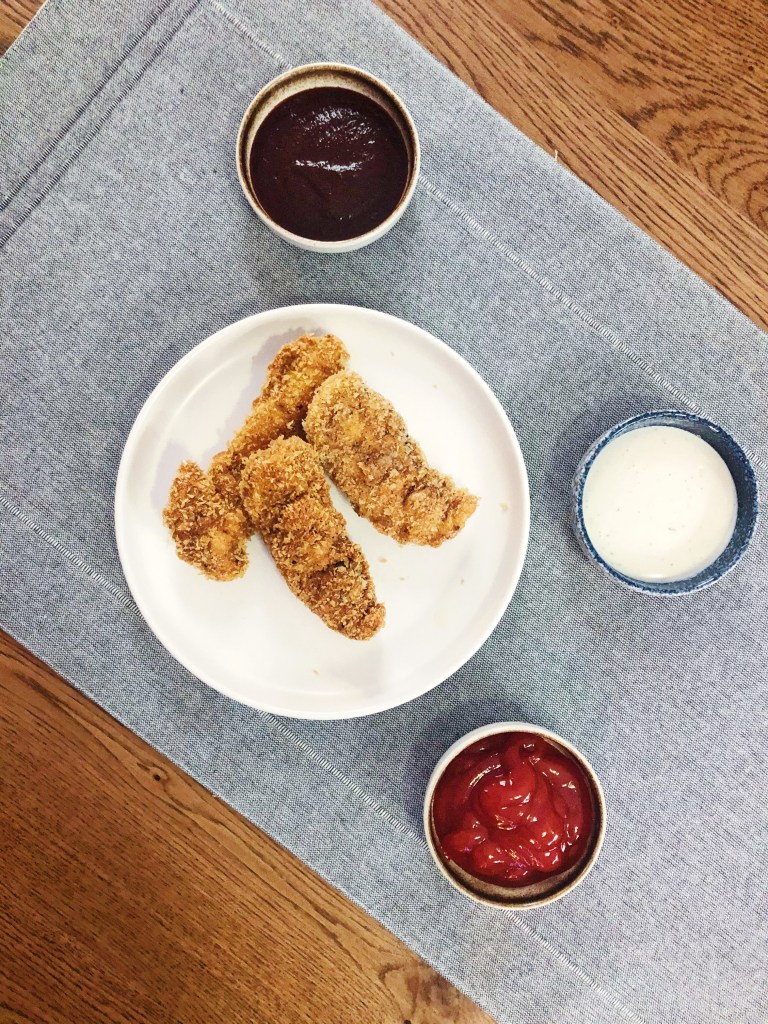
- Once all the chicken has been fried up, serve with your favorite dipping sauces and enjoy!


5 thoughts on “Better Than Take-Out Chicken Tenders”